
This is a long and tough hike. Long, because it’s a long way to the top of Mt Kimball. Tough, because it’s a long way, there’s a lot of bushwhacking, there’s some interesting route finding, and there’s a small amount of downhill Class 3 scrambling.
After looking at the dramatic line of Pontatoc Ridge from the east, my hope had been to hike and scramble up the full Pontatoc Ridge from its base, then continue on to the top of Mt Kimball.
Well, the true base of Pontatoc Ridge is buried inside a gated community, so I had to do some cross country bushwhacking, and even that didn’t take me to the correct ridge. Then, when I started hiking up the ridge I was on, I eventually arrived at a downclimb that looked tougher than I was ready for. So I backtracked. In all, I spent well over an hour on this hike going ways that didn’t work out.
So what I’m going to describe is the “best” route, ignoring all my little out-and-backs that led nowhere, and ignoring the dramatic lower part of the ridge. But before I start, be aware that this route has some Class 3 downhill scrambling, with a small amount of exposure. If you are not comfortable with Class 3 scrambling or with exposure, this is not a hike for you. It’s also a long and tough hike so be prepared with plenty of food and water.
If you are still with me, park in the Finger Rock parking area near the very top of N Alvernon Way (32.33617103105634, -110.91009262061056), then walk up the road to the start of the Finger Rock trail and start walking up this. Very soon, the trail splits, so take the Pontatoc trail on the right. Follow this to where the Pontatoc Ridge and Pontatoc Canyon trails diverge, and follow the Pontatoc Ridge trail to the right.
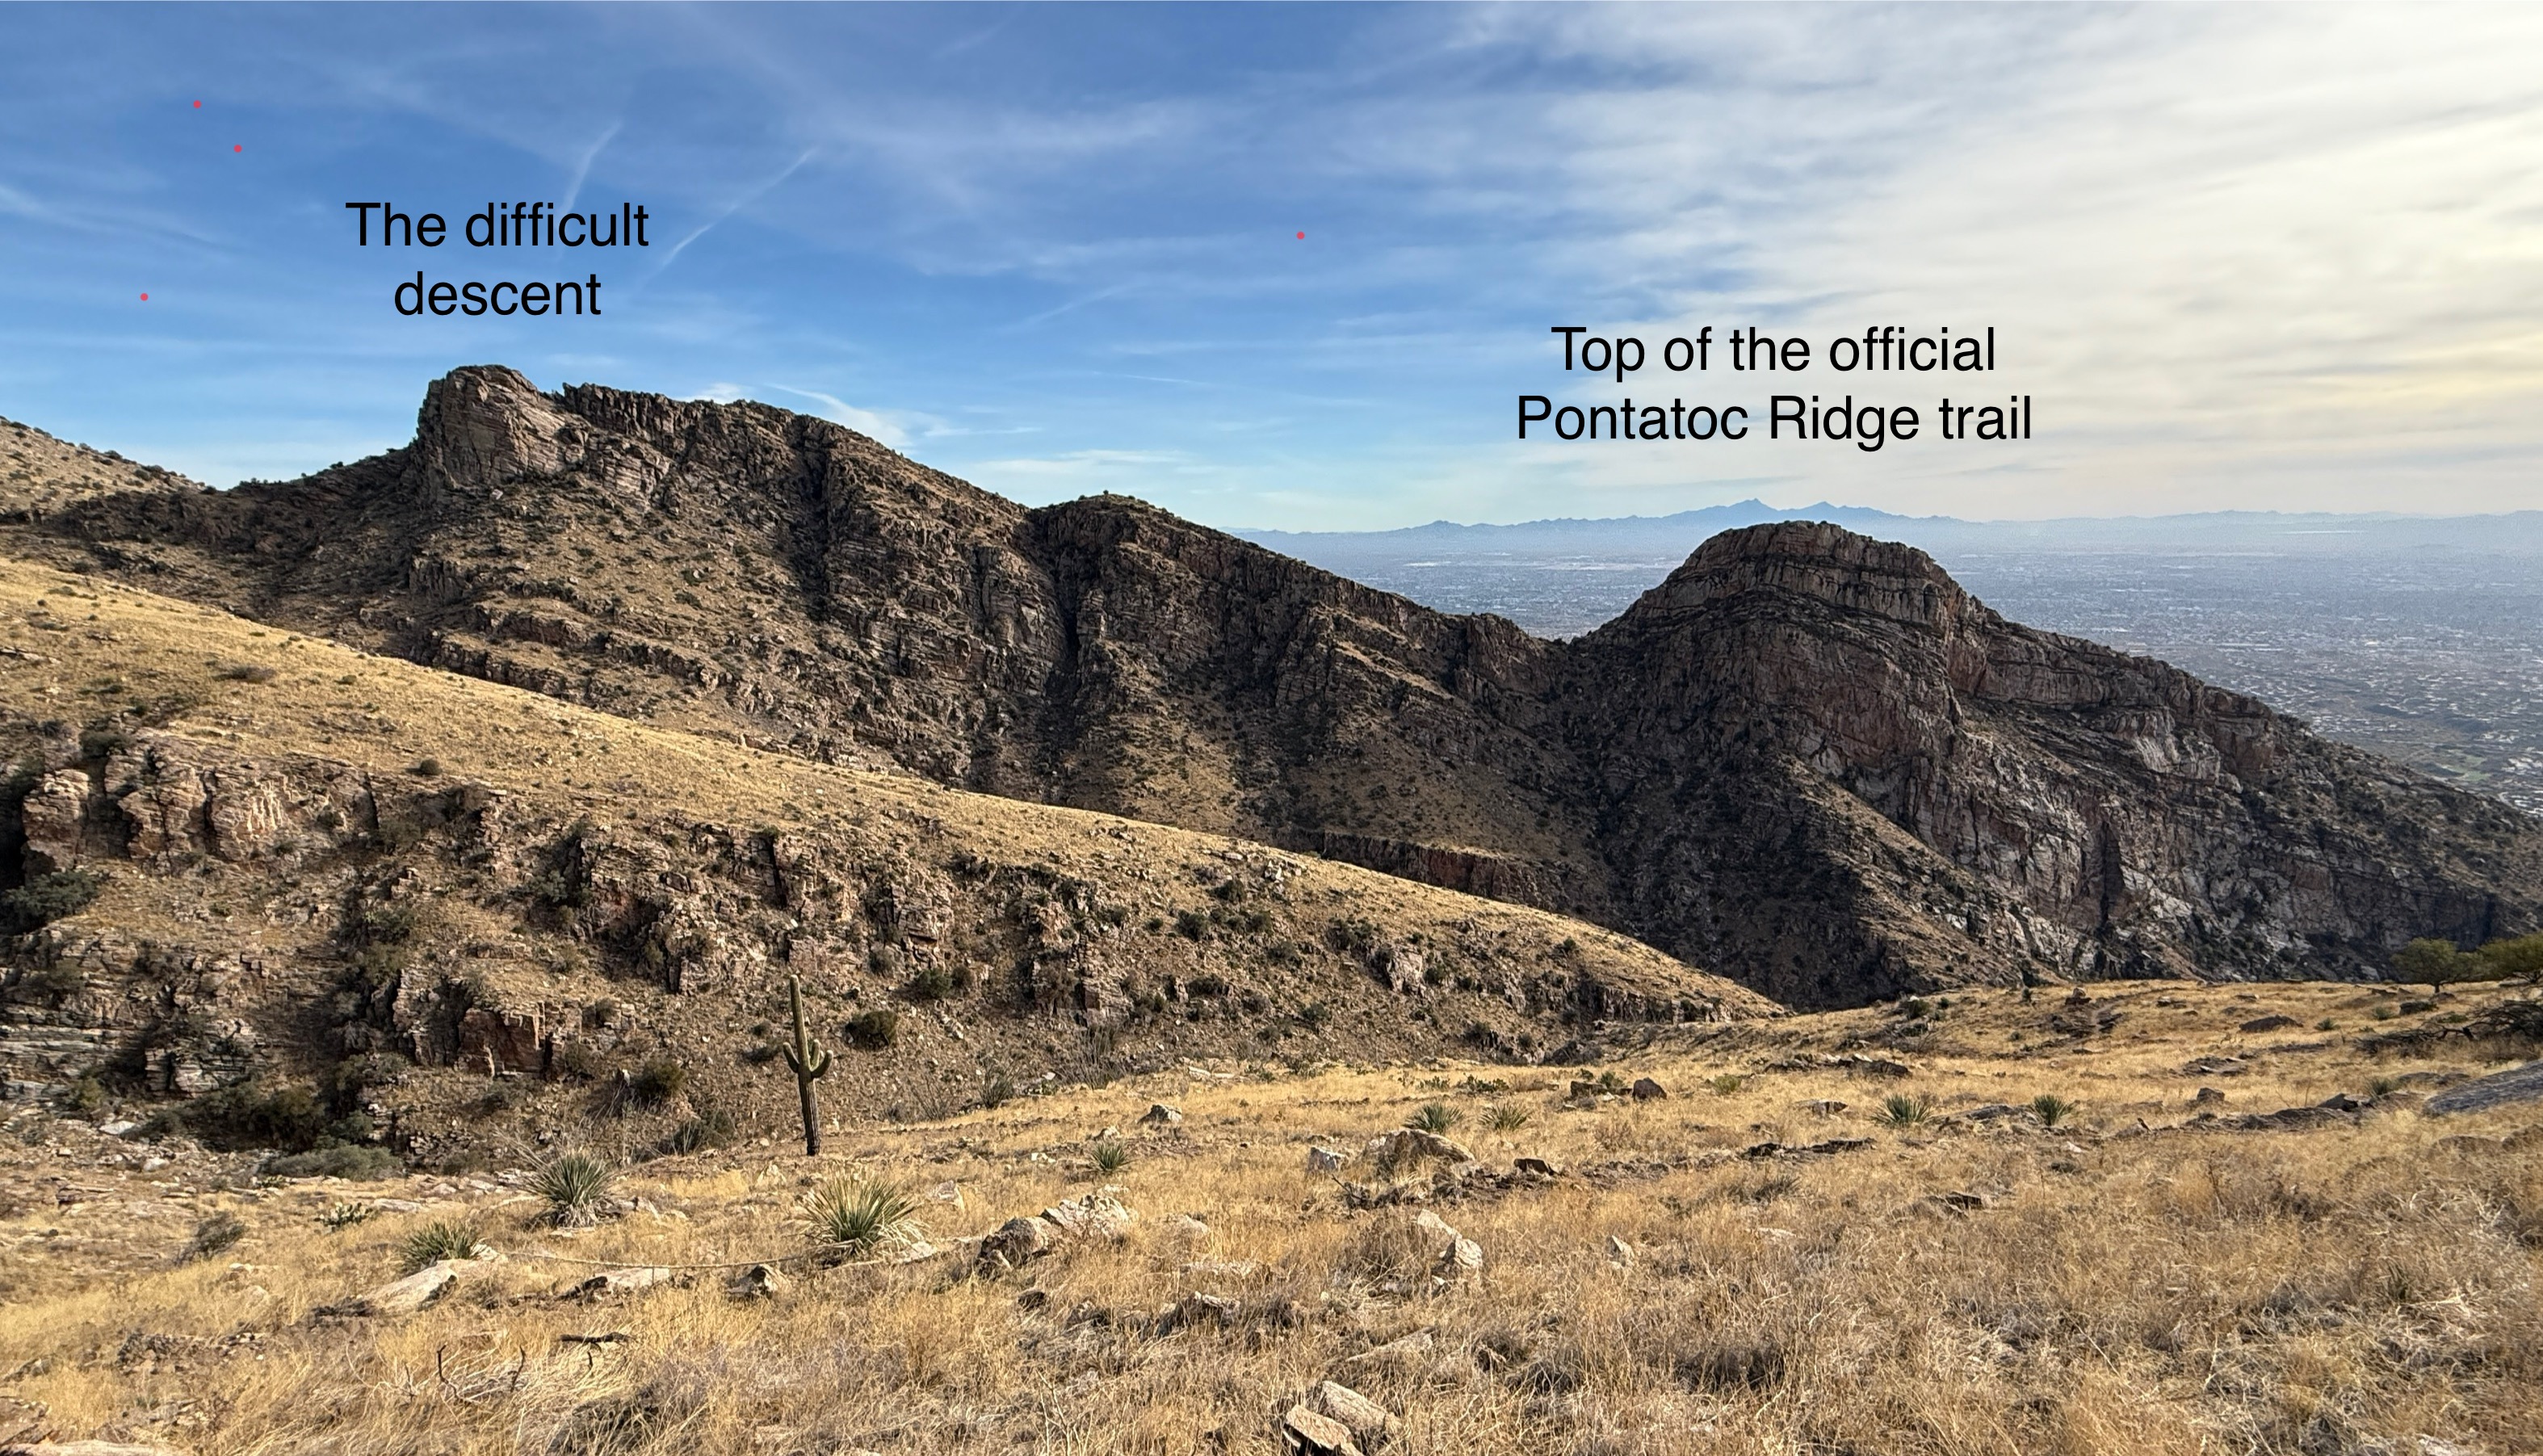
This will bring you up to the ridge, quite a way above its true base. Keep following the trail as it follows the ridge and the left slope of the ridge, until it again splits, the lower trail leading to a dead-end below the big cliffs. A few hundred yards before the dead-end, the upper trail splits off and heads diagonally up to the top of the ridge. Follow this trail up to and along the ridge until the trail ends. You will now be at the point shown as “Top of the official Pontatoc Ridge trail” in the photo above, and the high point in the photo just below.
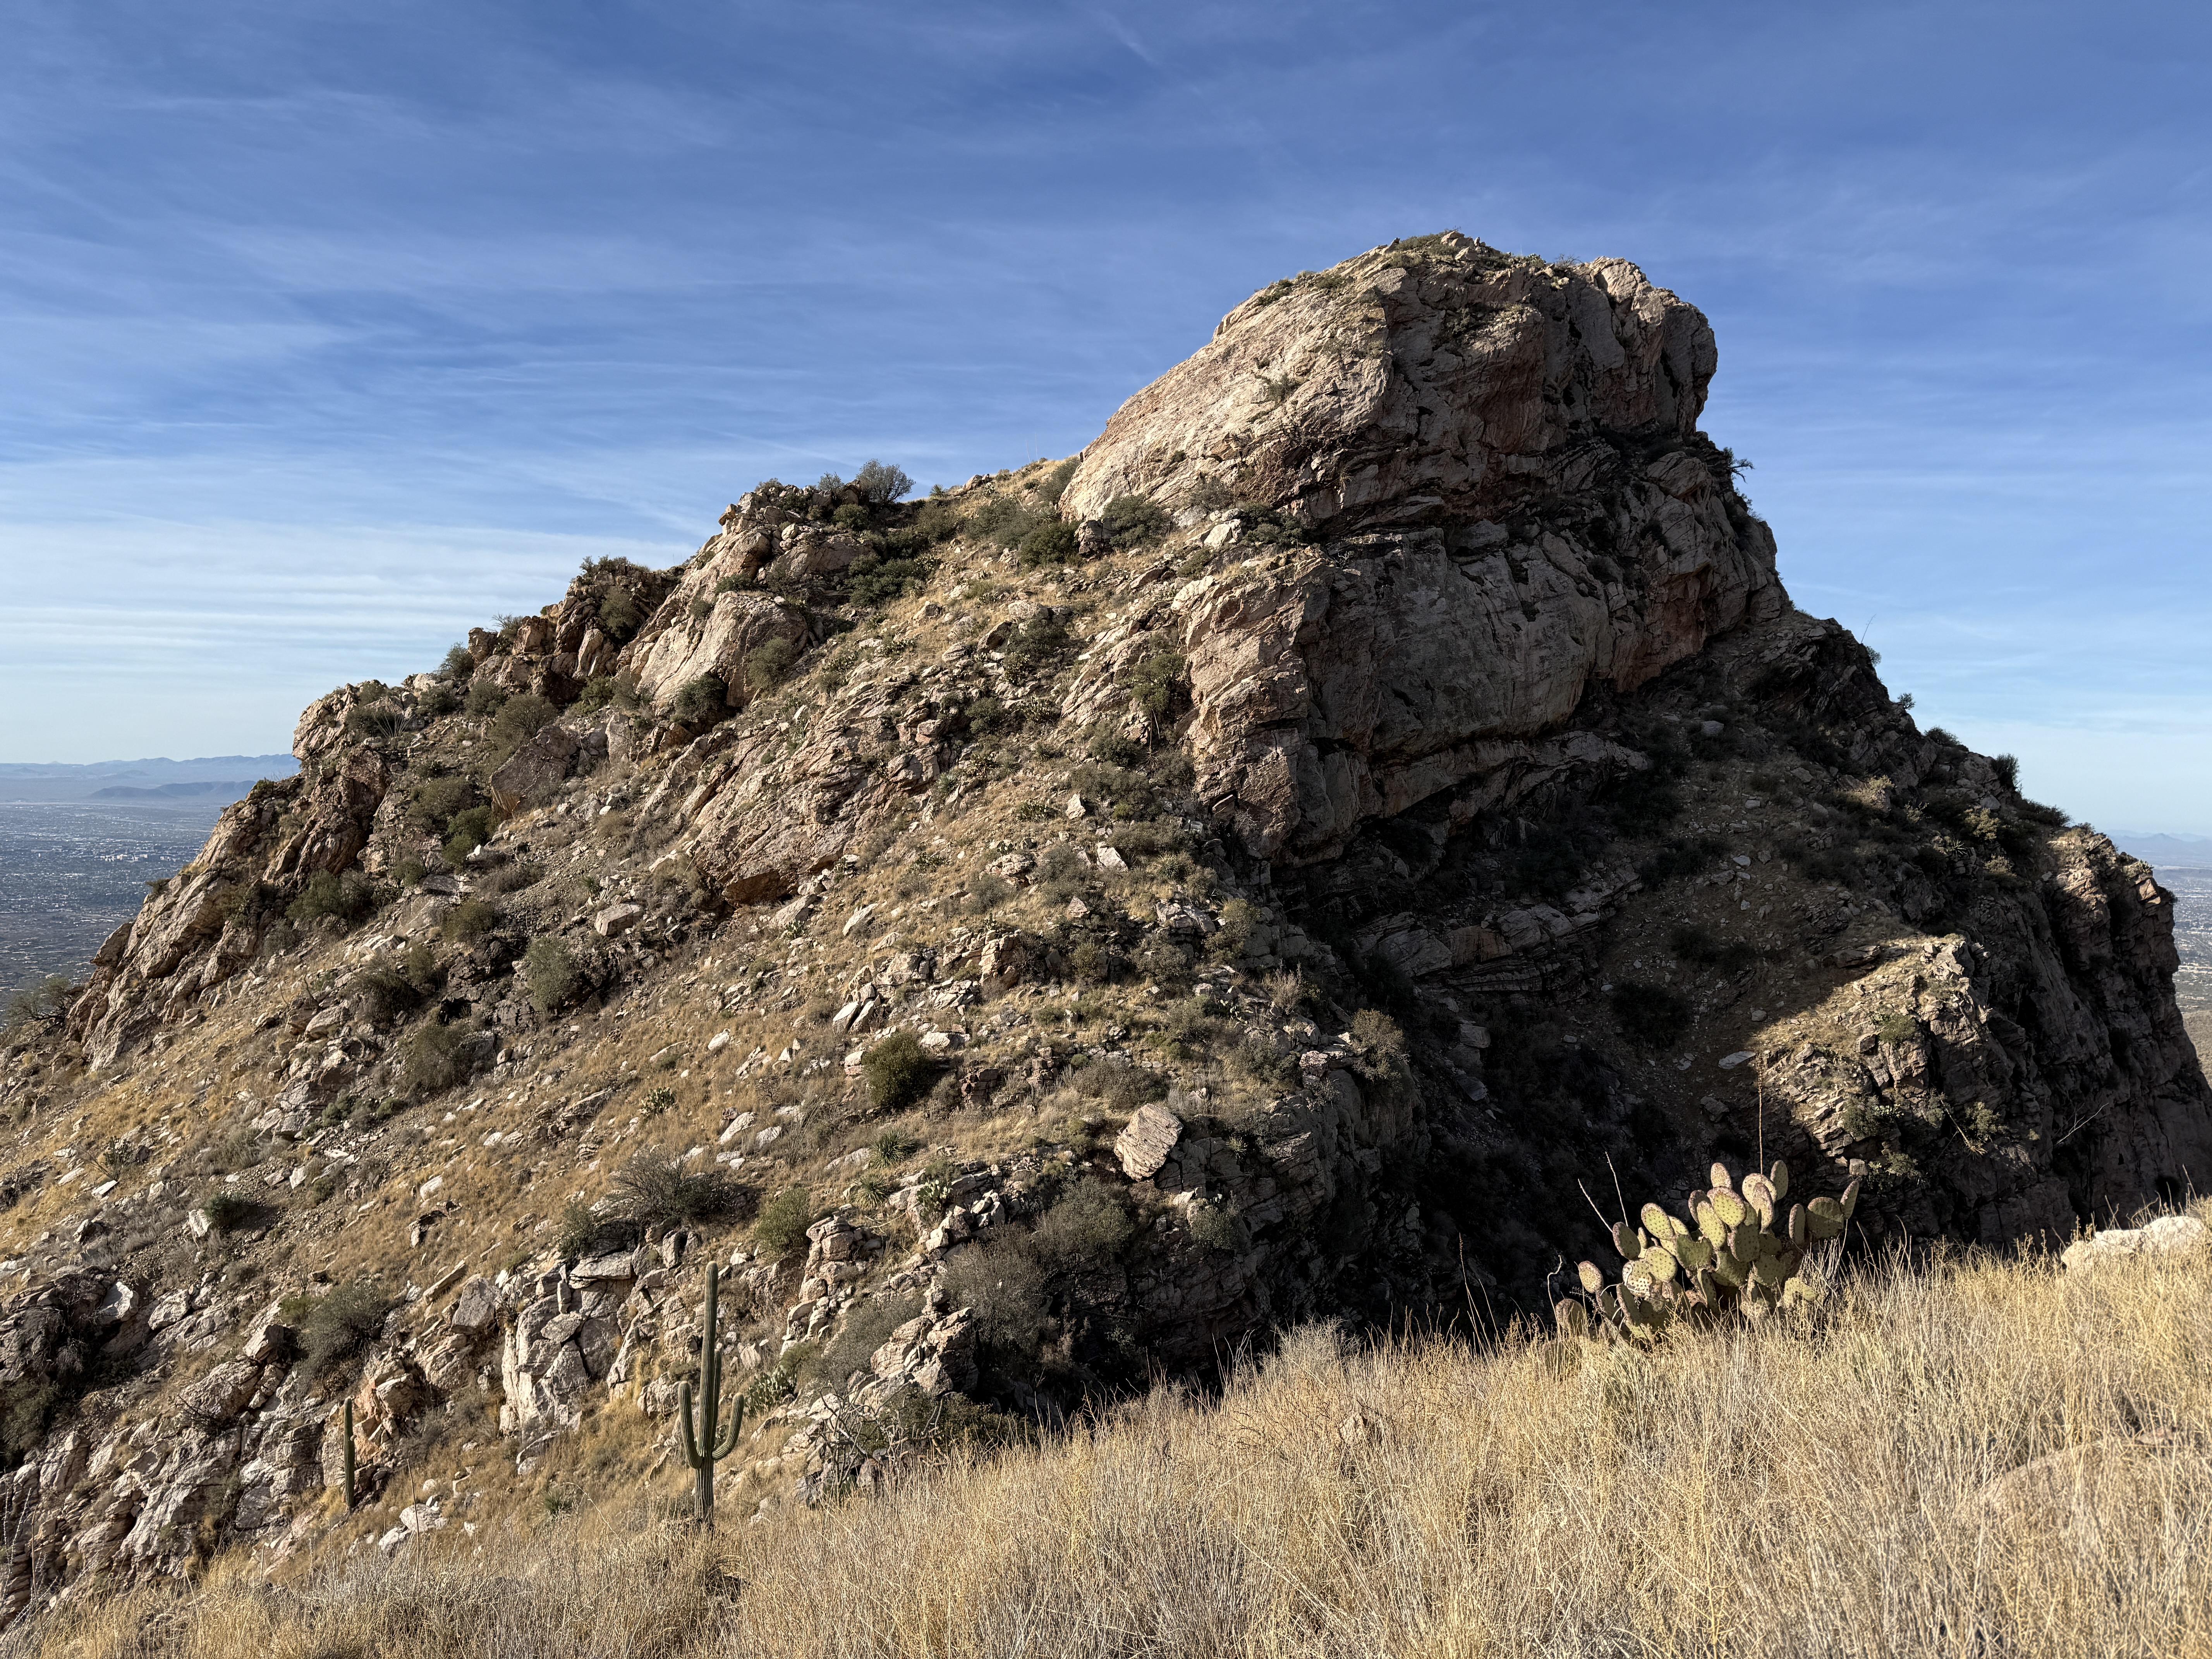
Just below and to the east of this high point is an obvious grass and tree covered slope, as shown in the photo below (looking back at the high point). Descend this slope quite easily down to the north, then continue straight up the ridge ahead, passing a large cairn, which will reassure you that people have been here before you 😁.
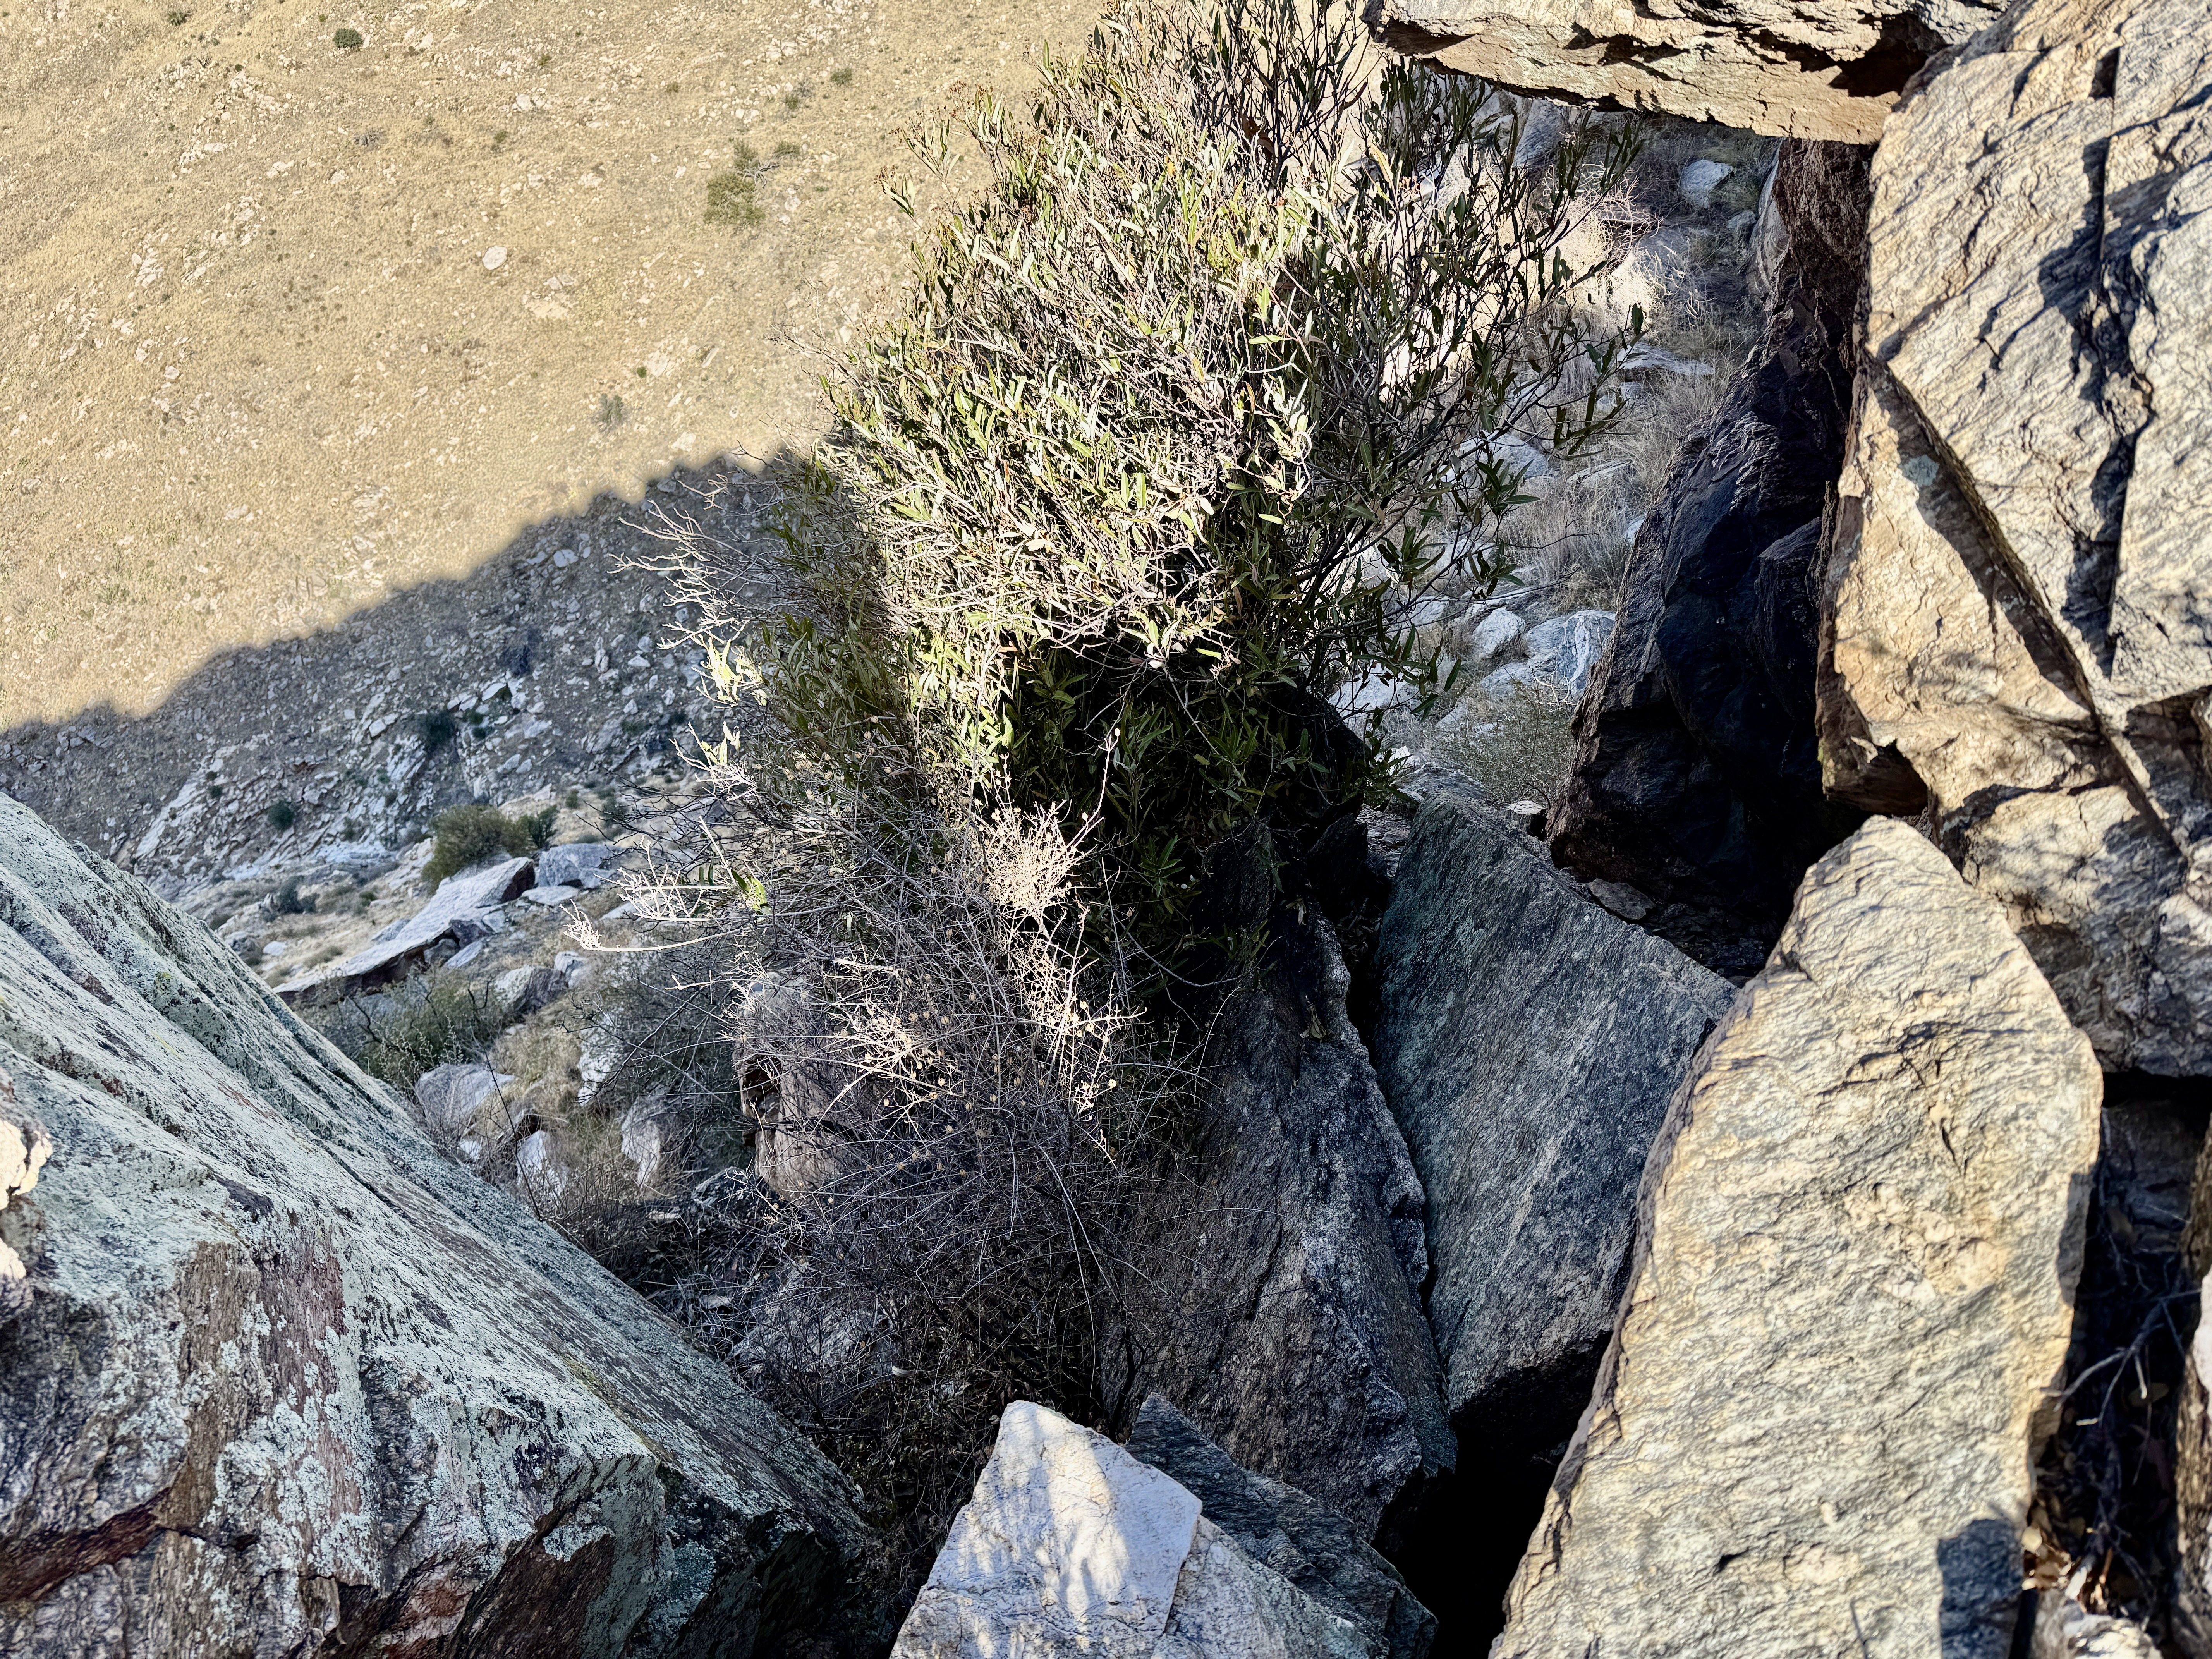
Eventually you will reach the main obstacle on the ridge, shown at the left in the top photo. Follow the rocks out as far as you can on the rocky promontory, until you are stopped by a vertical wall dropping down below you. Come back maybe 30 feet to where a short gully leads down to the left (west).
The photo below shows this gully, with the obvious tree. Climb down to the tree then scramble easily to the right and down to the obvious ramp. This is all maybe easy Class 3. Follow the ramp up right then round the corner. Keep moving right until you can see a reasonable way down some Class 3 ledges. There is a bit of exposure but it’s not too bad and the Class 3 down-climbing is reasonable. (From the base of the ramp it appeared that you could descend down and left, but this looked like too much elevation loss for me.)
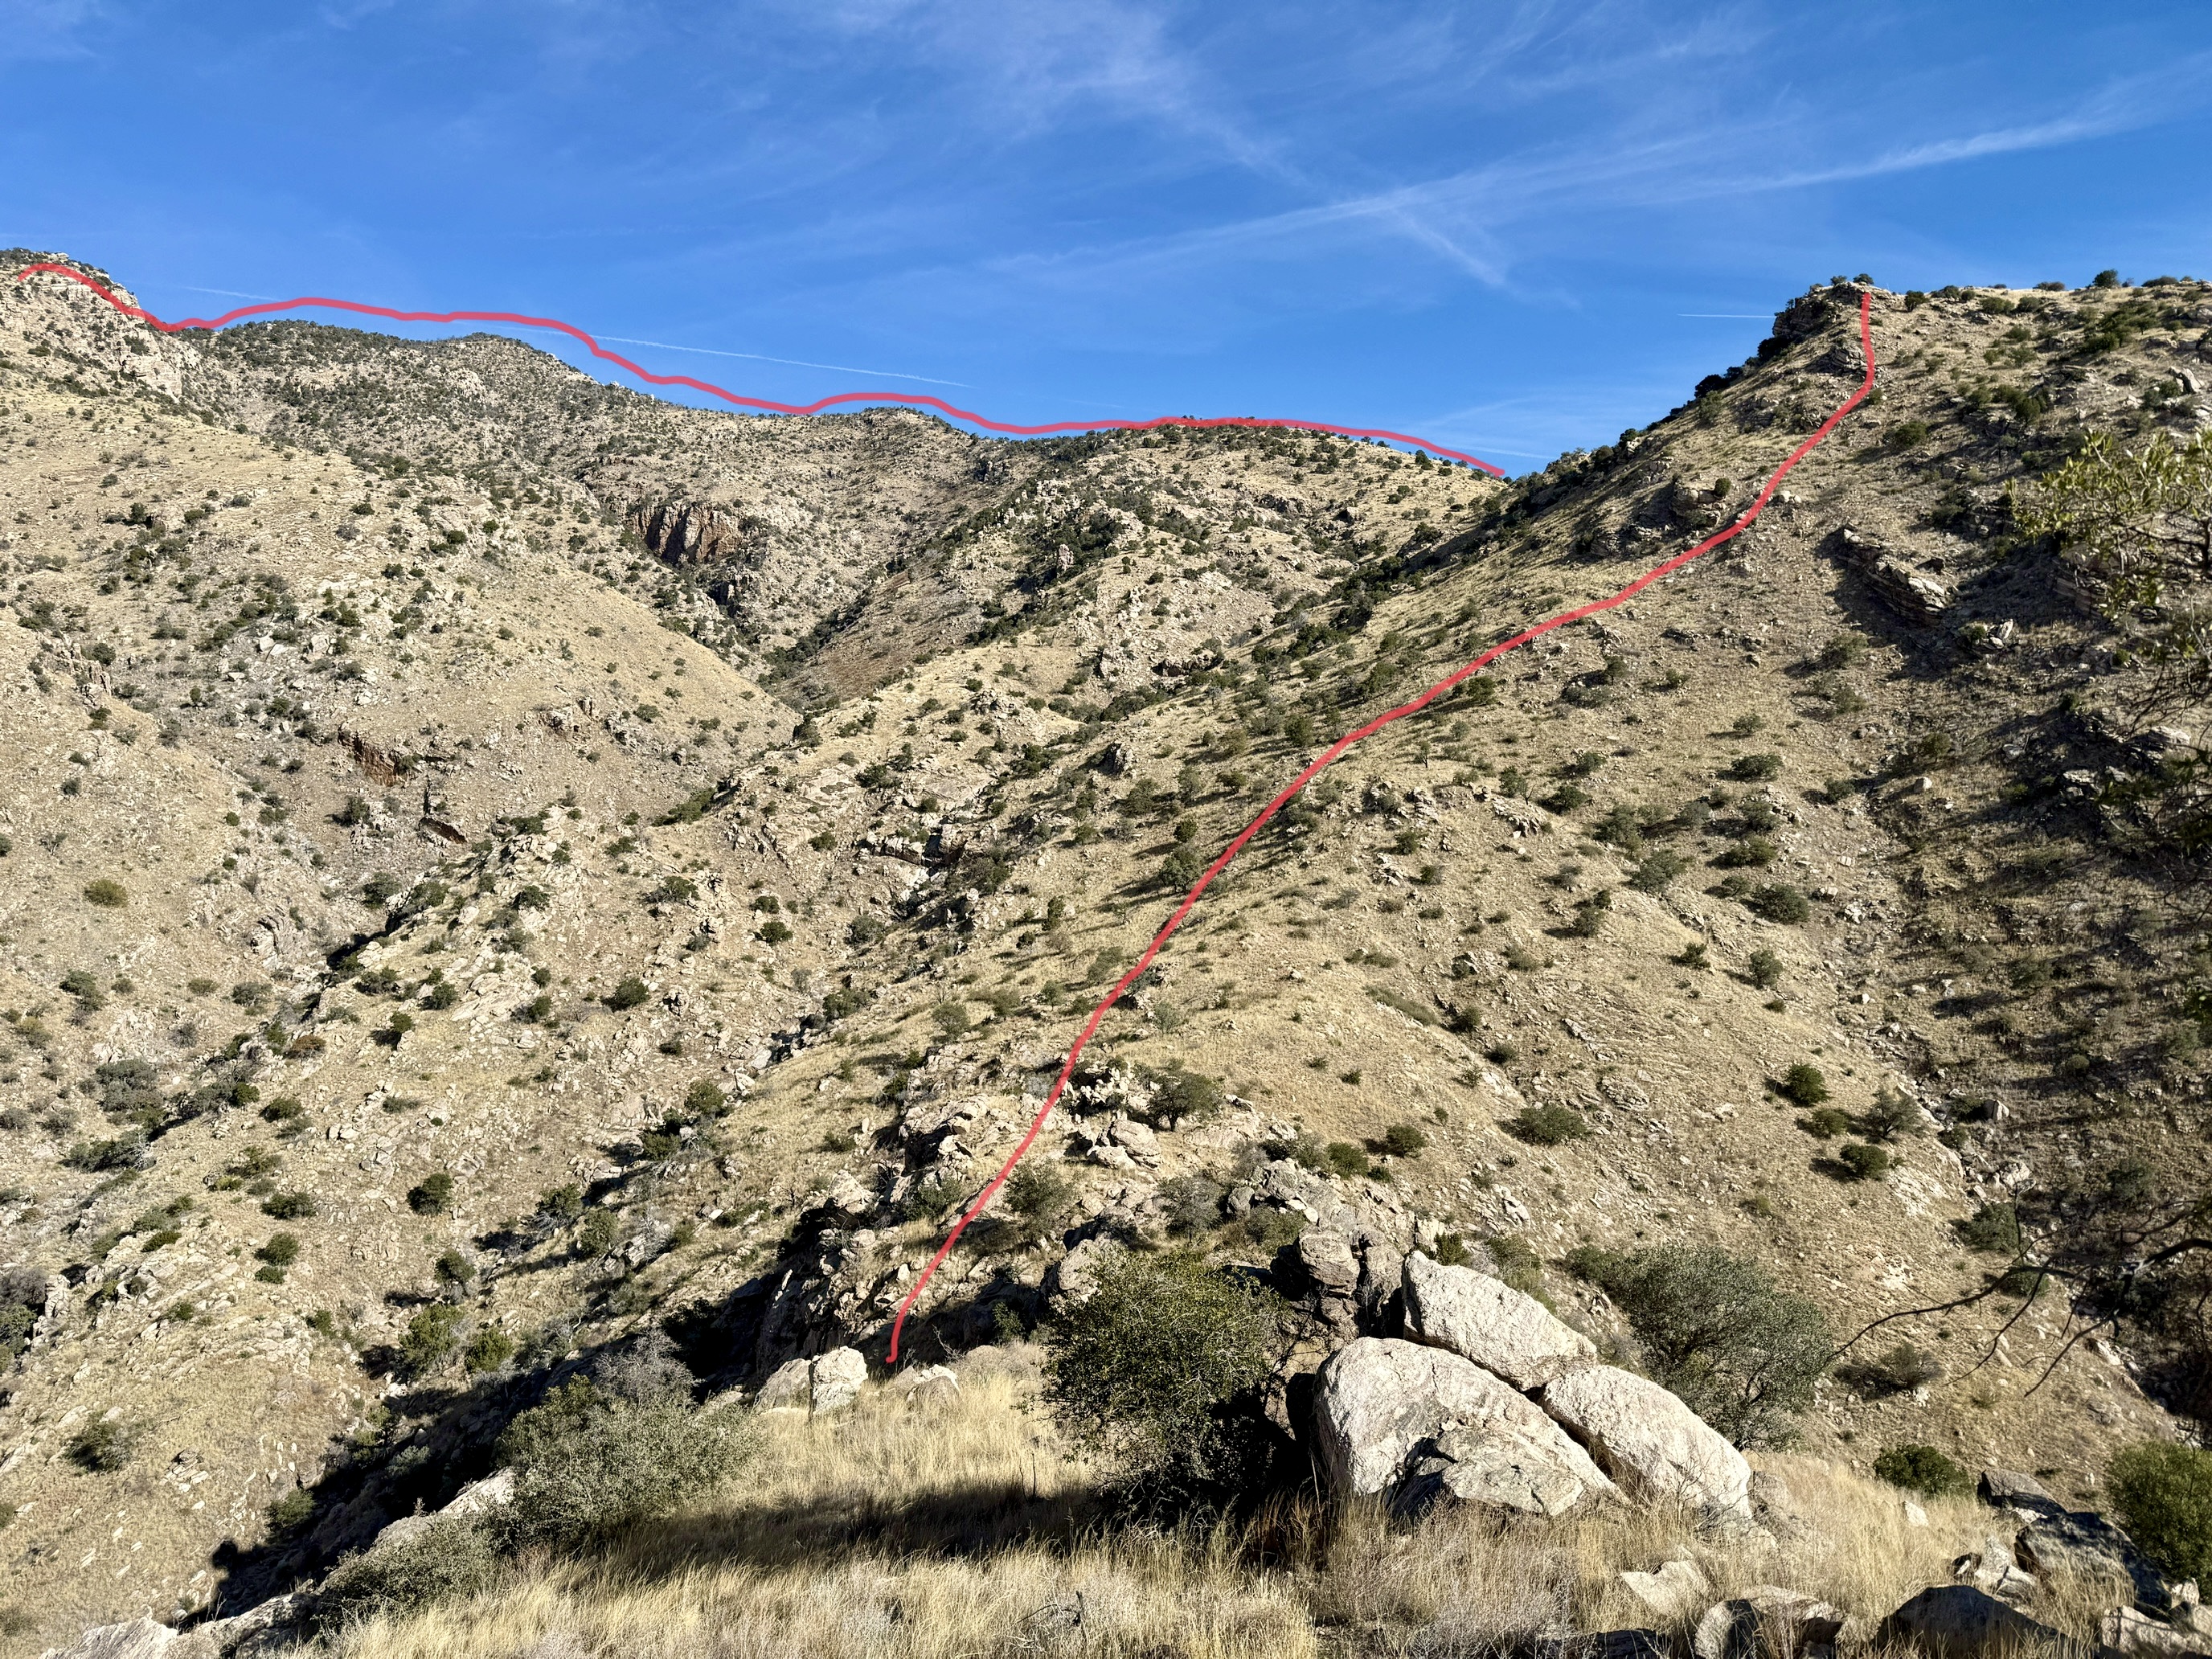
Once down, the big technical difficulties are over. You’ll now hike steeply up the next hillside and follow the obvious line up and round, as shown in red in the photo below. After the initial rocky top there is a short downhill that is minimized by staying left.
As you hike higher, you’ll be able to look down into Ventana Canyon, far below you on your right.
Eventually you will approach the cliffs shown in the photo below. It will seem that you have to do a major descent before reaching the cliffs, but if you stay to the left, you won’t really have to make any descent at all. Now scramble up the rocks to the ridge line. There are probably any number of ways to scramble through the rocks, so take your pick.

Once on the ridge you’ll be faced with many large rocky blocks, some of which would be very difficult to climb. I eventually bypassed the rocky blocks on the left, working through trees and other vegetation. This was not much fun. But eventually all not-so-good things end, and you are back hiking again.
Continue up the next little hill, which is named Little Kimball, then head down leftwards, to reach the junction of the Finger Rock trail and the Pima Canyon trail.
At this point you have a choice. Either turn left and head back down the Finger Rock trail, or turn right and hike another 20 minutes to the top of Mt Kimball. You’re already so close to Mt Kimball, so why not?
When you get to the “top” of Mt Kimball, you are probably not quite there. The trail actually continues down a bit then along until you end up at a cliff edge, with spectacular views of Oro Valley, Saddlebrooke, Cathedral Rock, and Mt Lemmon.
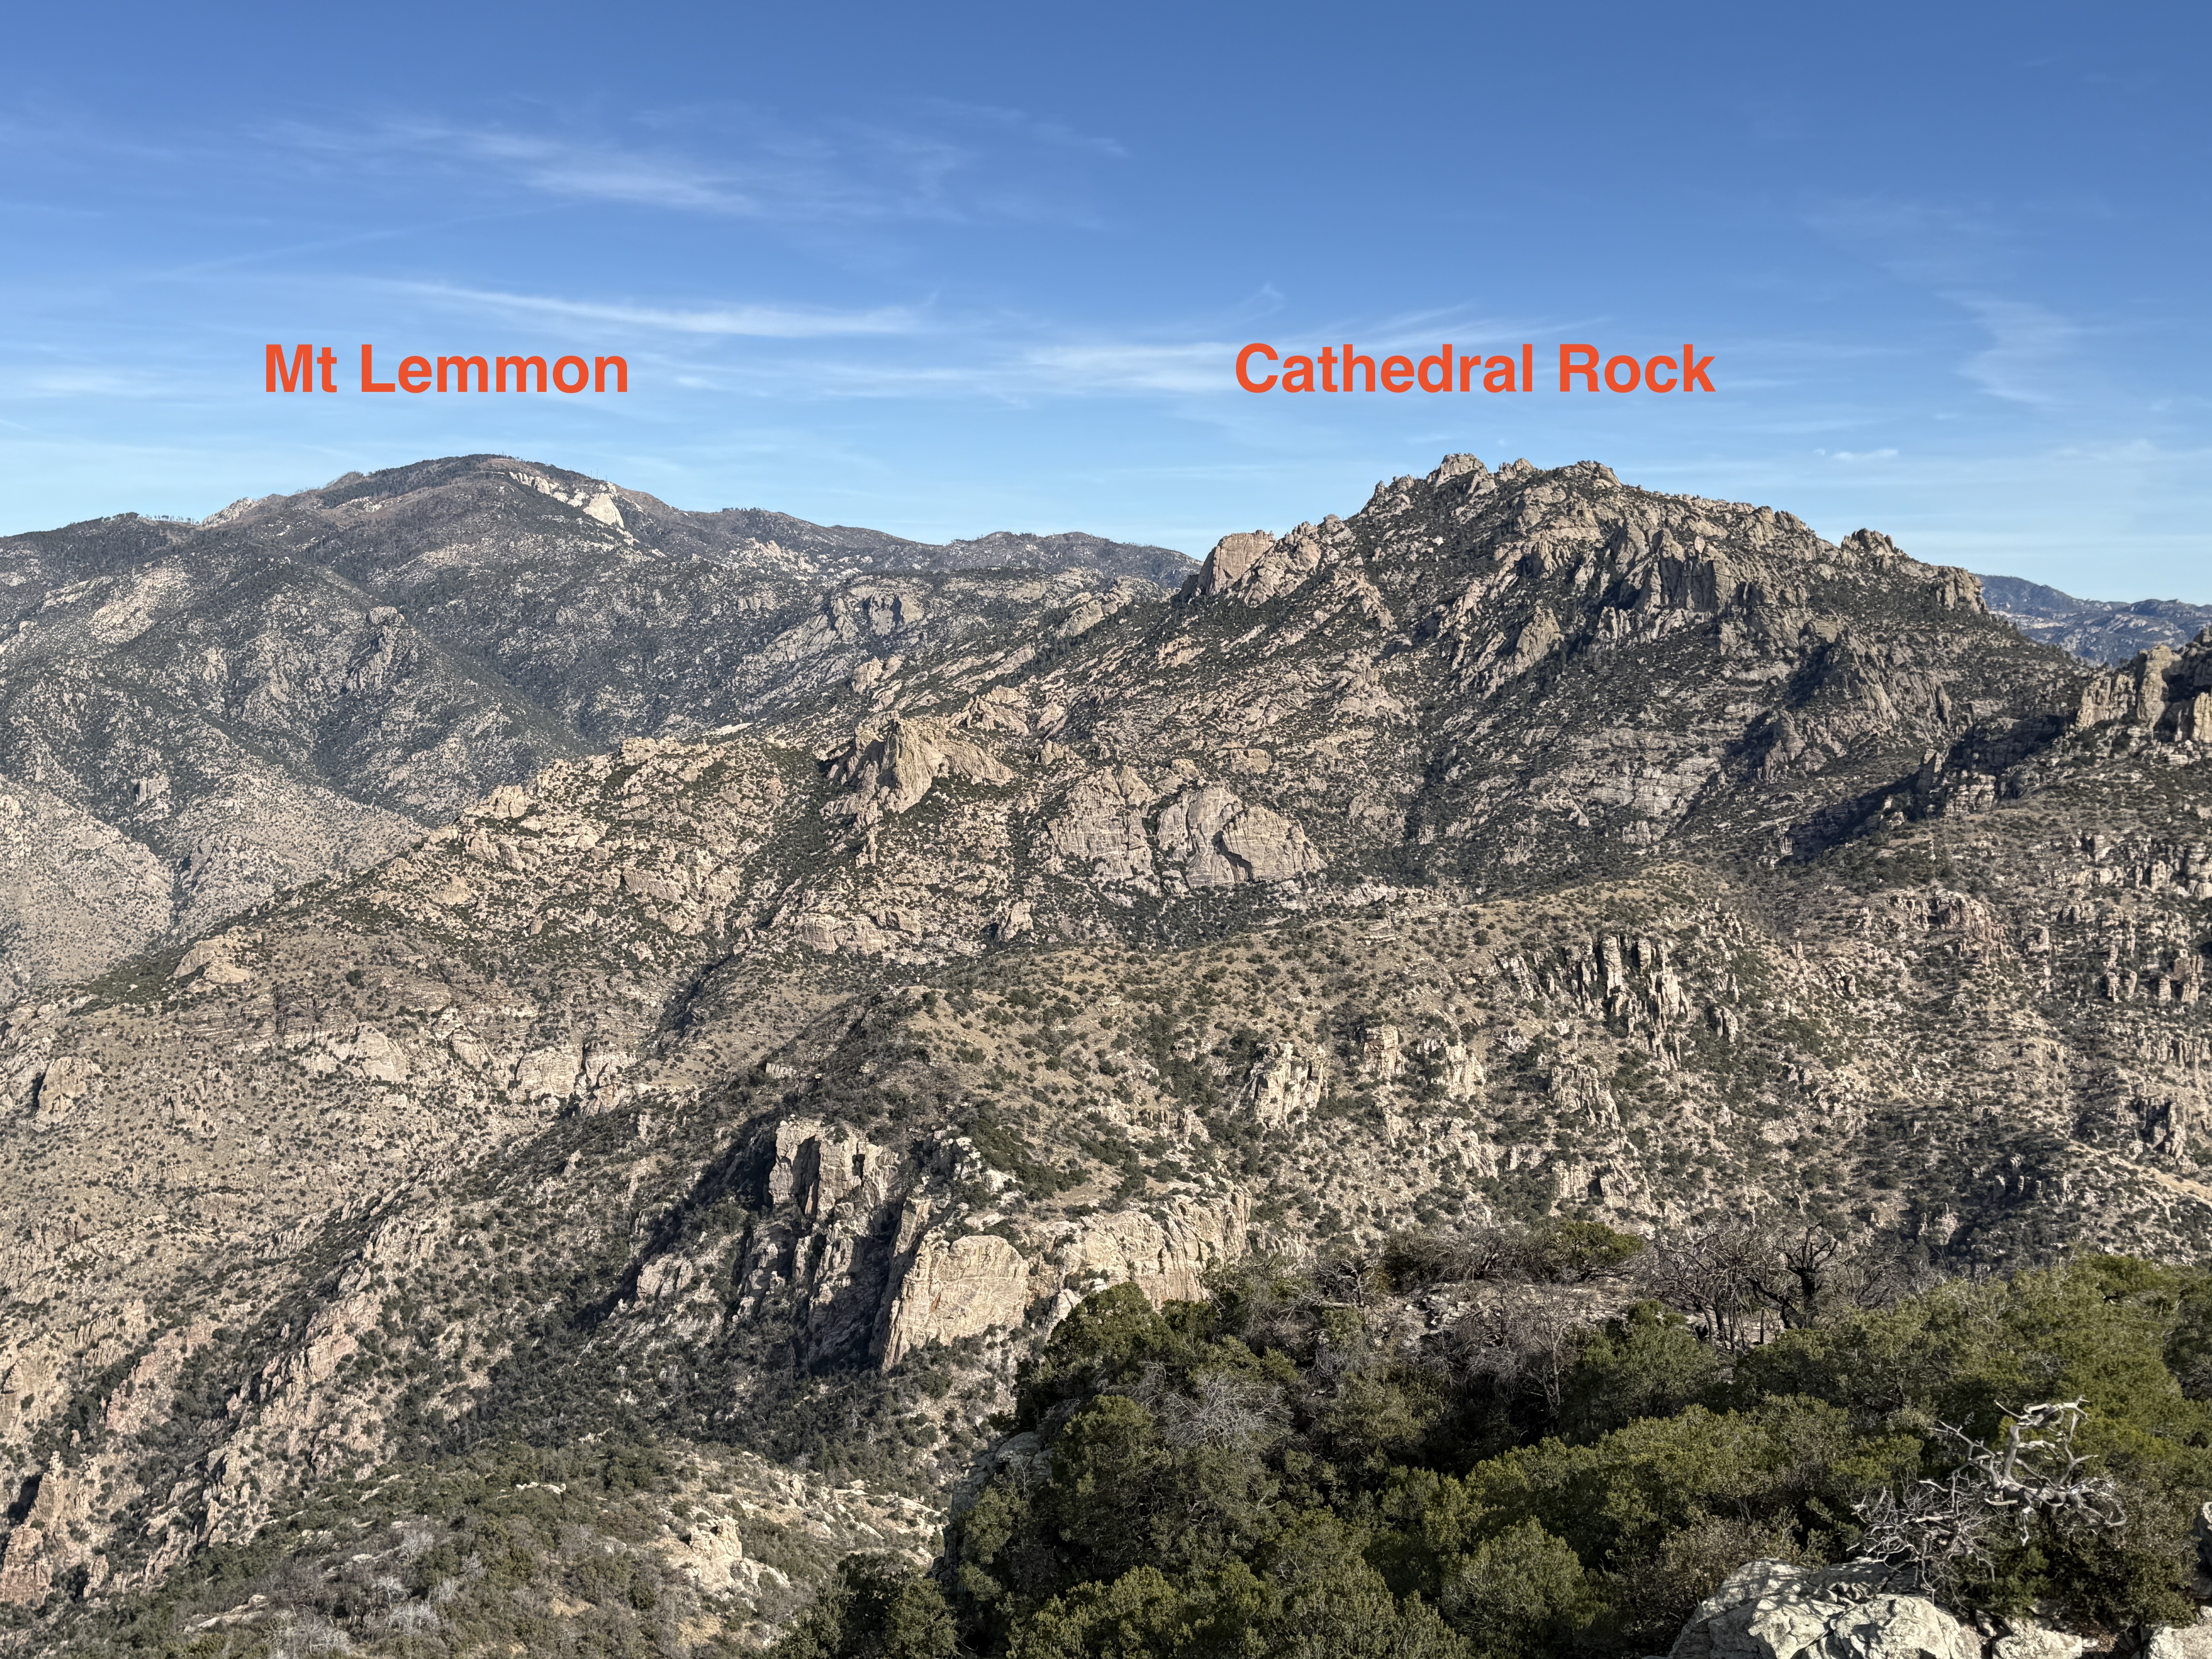
View from the top of Mt Kimball
From the top of Mt Kimball, return down the Finger Rock trail. Just below Linda Vista Saddle you have a choice. Either continue down Finger Rock trail, or head up to Linda Vista Saddle and go slightly east, down to the lovely new extension to the Pontatoc Canyon trail. This trail is easy angle and has very few rocks and is great fun to hike. Sadly the extension eventually finishes and you are now on the much rockier original Pontatoc Canyon trail. Descend this back to your car at the end of a tough and rewarding day.
Hiked 12/28/2024
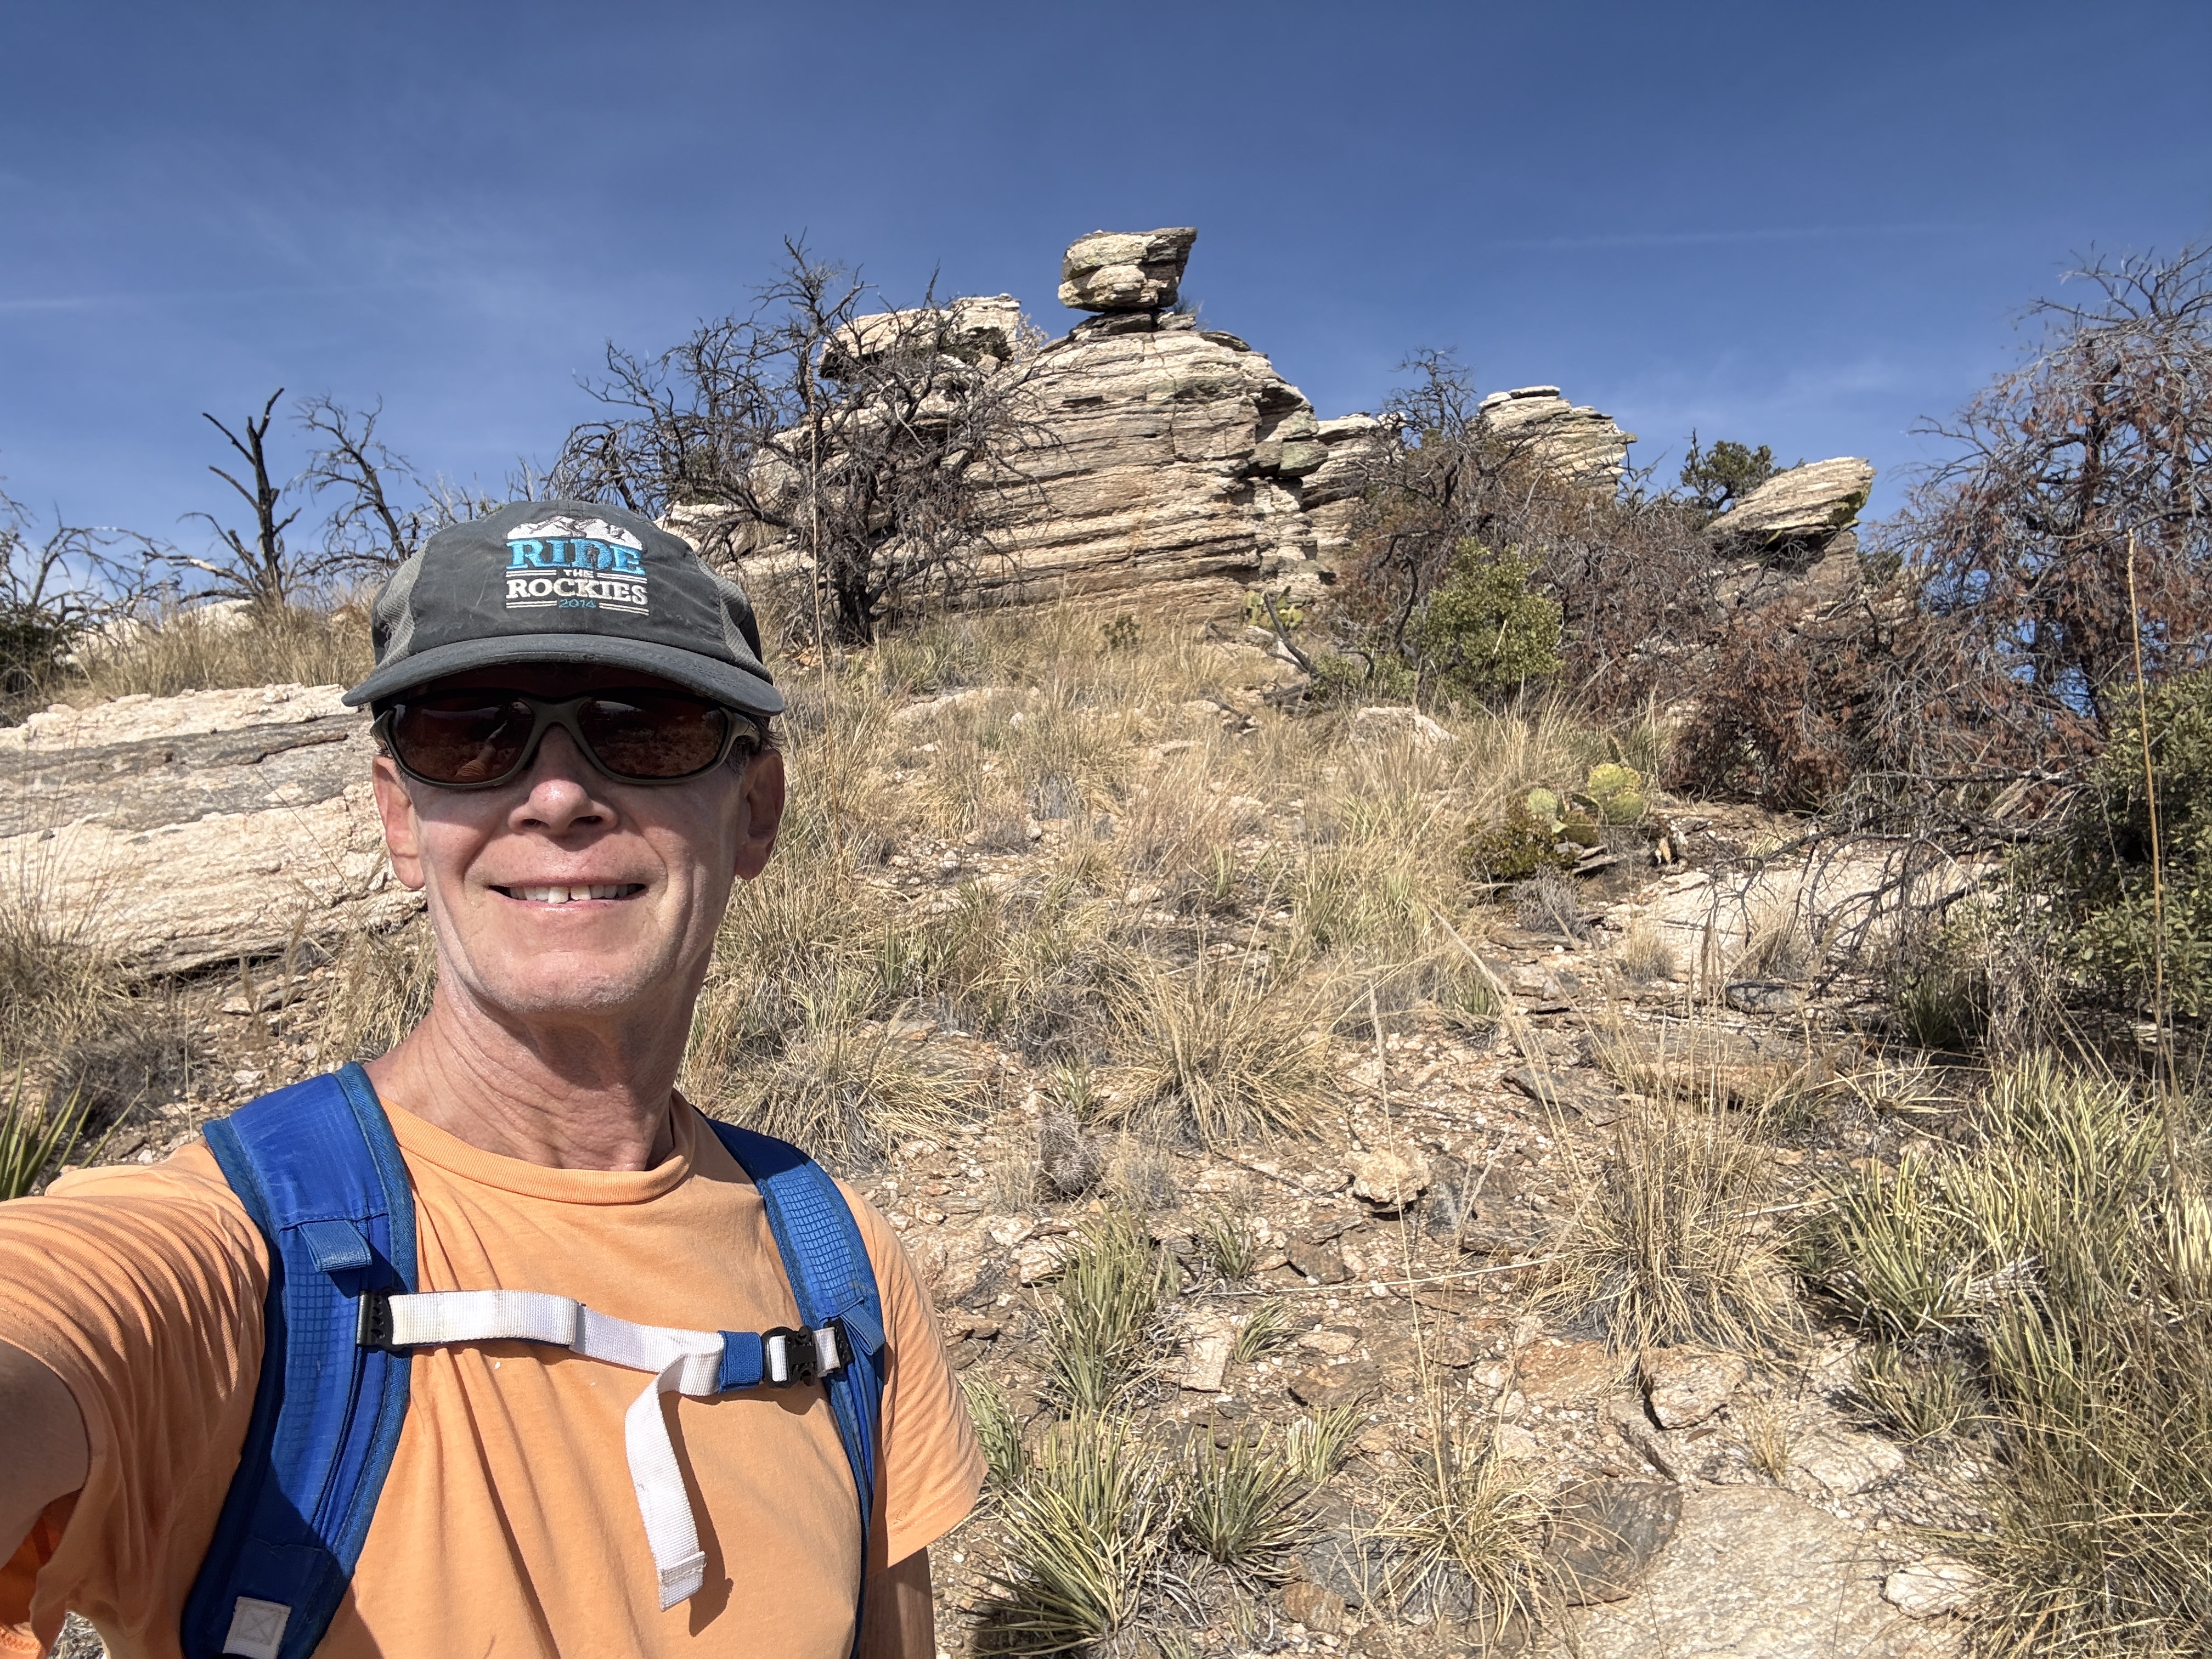
Here are a couple of photos taken from the official Pontatoc Ridge trail.

The beautiful new extension to the Pontatoc Canyon trail

Links and Other Clicks
The Earthline page about hiking Pontatoc Canyon to the top of Mt Kimball, which has a lot of gorgeous photos.
